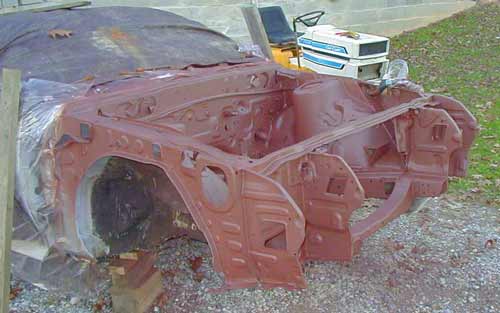
Painted...
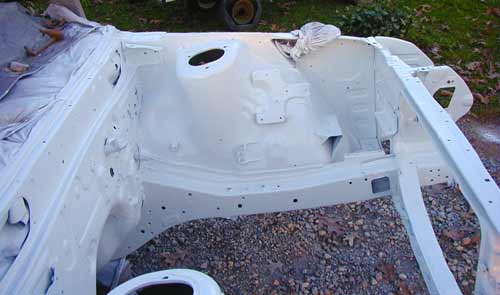
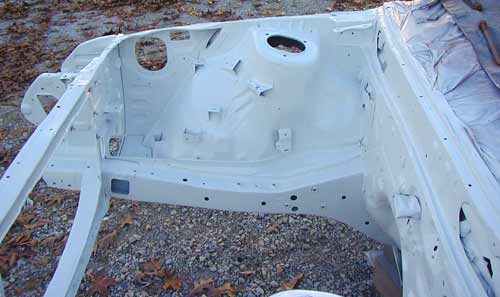
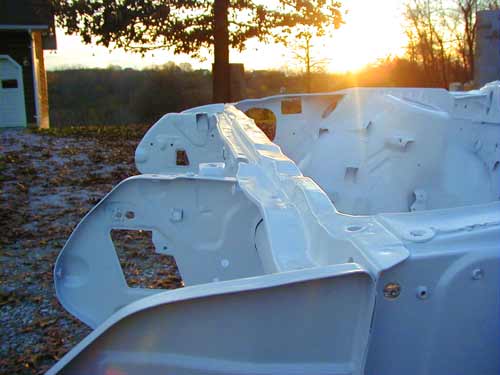
This was the second coat. First coat looked all
textured because I painted it with thing misty layers.
Wasn't too happy with that... plus some of the rougher
rust spots discharged some rusty water the next morning.
I think it just found small pores and did what wet steel
does.
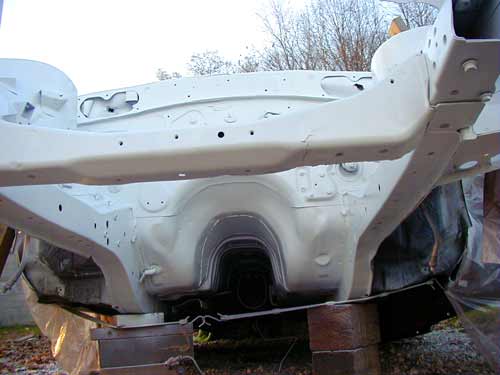
For the second coat I wet sanded with 2000 grit paper
and then wiped it down with alcohol. Then I just
LOADED it with paint. Looks all glossy and smooth.
Made careful attention to slather the problem spots.
Its actually still drying. So I hope it looks as
good dry. Tomorrow I'm going to see how it looks.
I might wet sand it a bit and then polish. Hope it
lasts. Can't wait to see it with grommets and
wiring back in place.
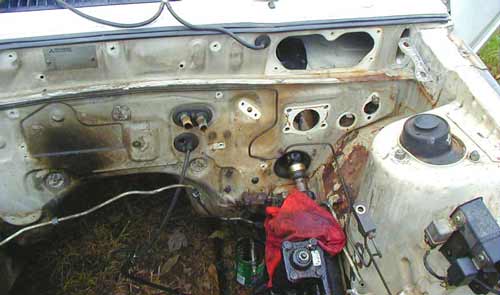
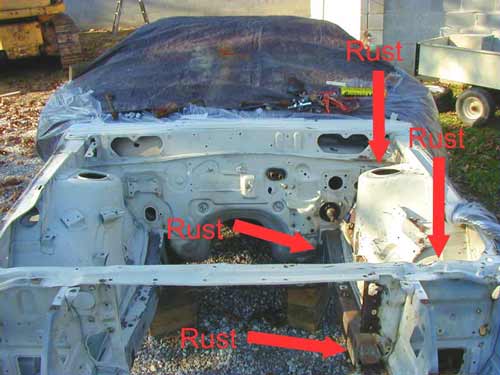
Total budget: $10 The next thing to clean up is the
brake booster. It must have had some leakage or
spillage. I cleaned the cast parts with a wire
wheel and painted it with high temp brake caliper paint.
The booster was sanded, primed and painted with Gloss
black. I put some black silicone and some aluminum
foil on to hopefully funnel any leakage off without
ruining the paint. Don't know if it will last, but
here is the before:

and after:
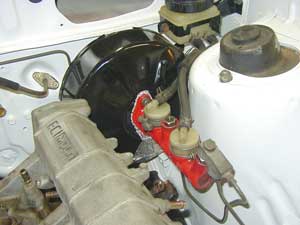
Budget: Free (already had the paint) |